Una guía completa sobre cómo usar la cámara virtual de OBS

Las videoconferencias, las clases en línea y la transmisión en vivo ahora son parte de la vida cotidiana. Ya sea que enseñes a distancia, organices eventos virtuales o te unas a una llamada grupal informal, tu apariencia en cámara marca una gran diferencia. Si bien la mayoría de las aplicaciones como Zoom, Microsoft Teams y Google Meet permiten seleccionar una cámara web, a menudo no ofrecen opciones de personalización avanzadas.
Aquí es donde entra en juego OBS Virtual Camera. Integrada en el popular software OBS Studio, la función de cámara virtual te permite usar tu salida OBS como cámara web en otras aplicaciones. Esto significa que puedes añadir logotipos, diapositivas, superposiciones, efectos de pantalla verde o incluso múltiples ángulos de cámara a tu transmisión de video.
En esta guía completa, explicaremos qué es OBS Virtual Camera, cómo usarla y cómo solucionar problemas comunes.
1. ¿Qué es OBS Virtual Camera?
OBS (Open Broadcaster Software) Studio es un programa gratuito y de código abierto que se utiliza para la transmisión y grabación. Cámara virtual Esta función te permite tomar el video que creas en OBS y enviarlo a otras aplicaciones como si fuera una transmisión de cámara web normal.
Ejemplos de lo que puedes hacer con OBS Virtual Camera:
- Educadores :Muestra diapositivas junto a tu cámara web durante las lecciones en línea.
- Creadores de contenido :Agregue tercios inferiores, gráficos o un fondo de marca.
- Jugadores :Comparte el juego junto con tu cámara web en las llamadas de Discord.
- profesionales de negocios :Presente con superposiciones y logotipos pulidos.
En resumen, OBS Virtual Camera convierte una simple cámara web en una herramienta de producción de vídeo profesional.
2. ¿Cómo utilizar la cámara virtual OBS?
Comenzar a utilizar OBS Virtual Camera es fácil siguiendo estos pasos:
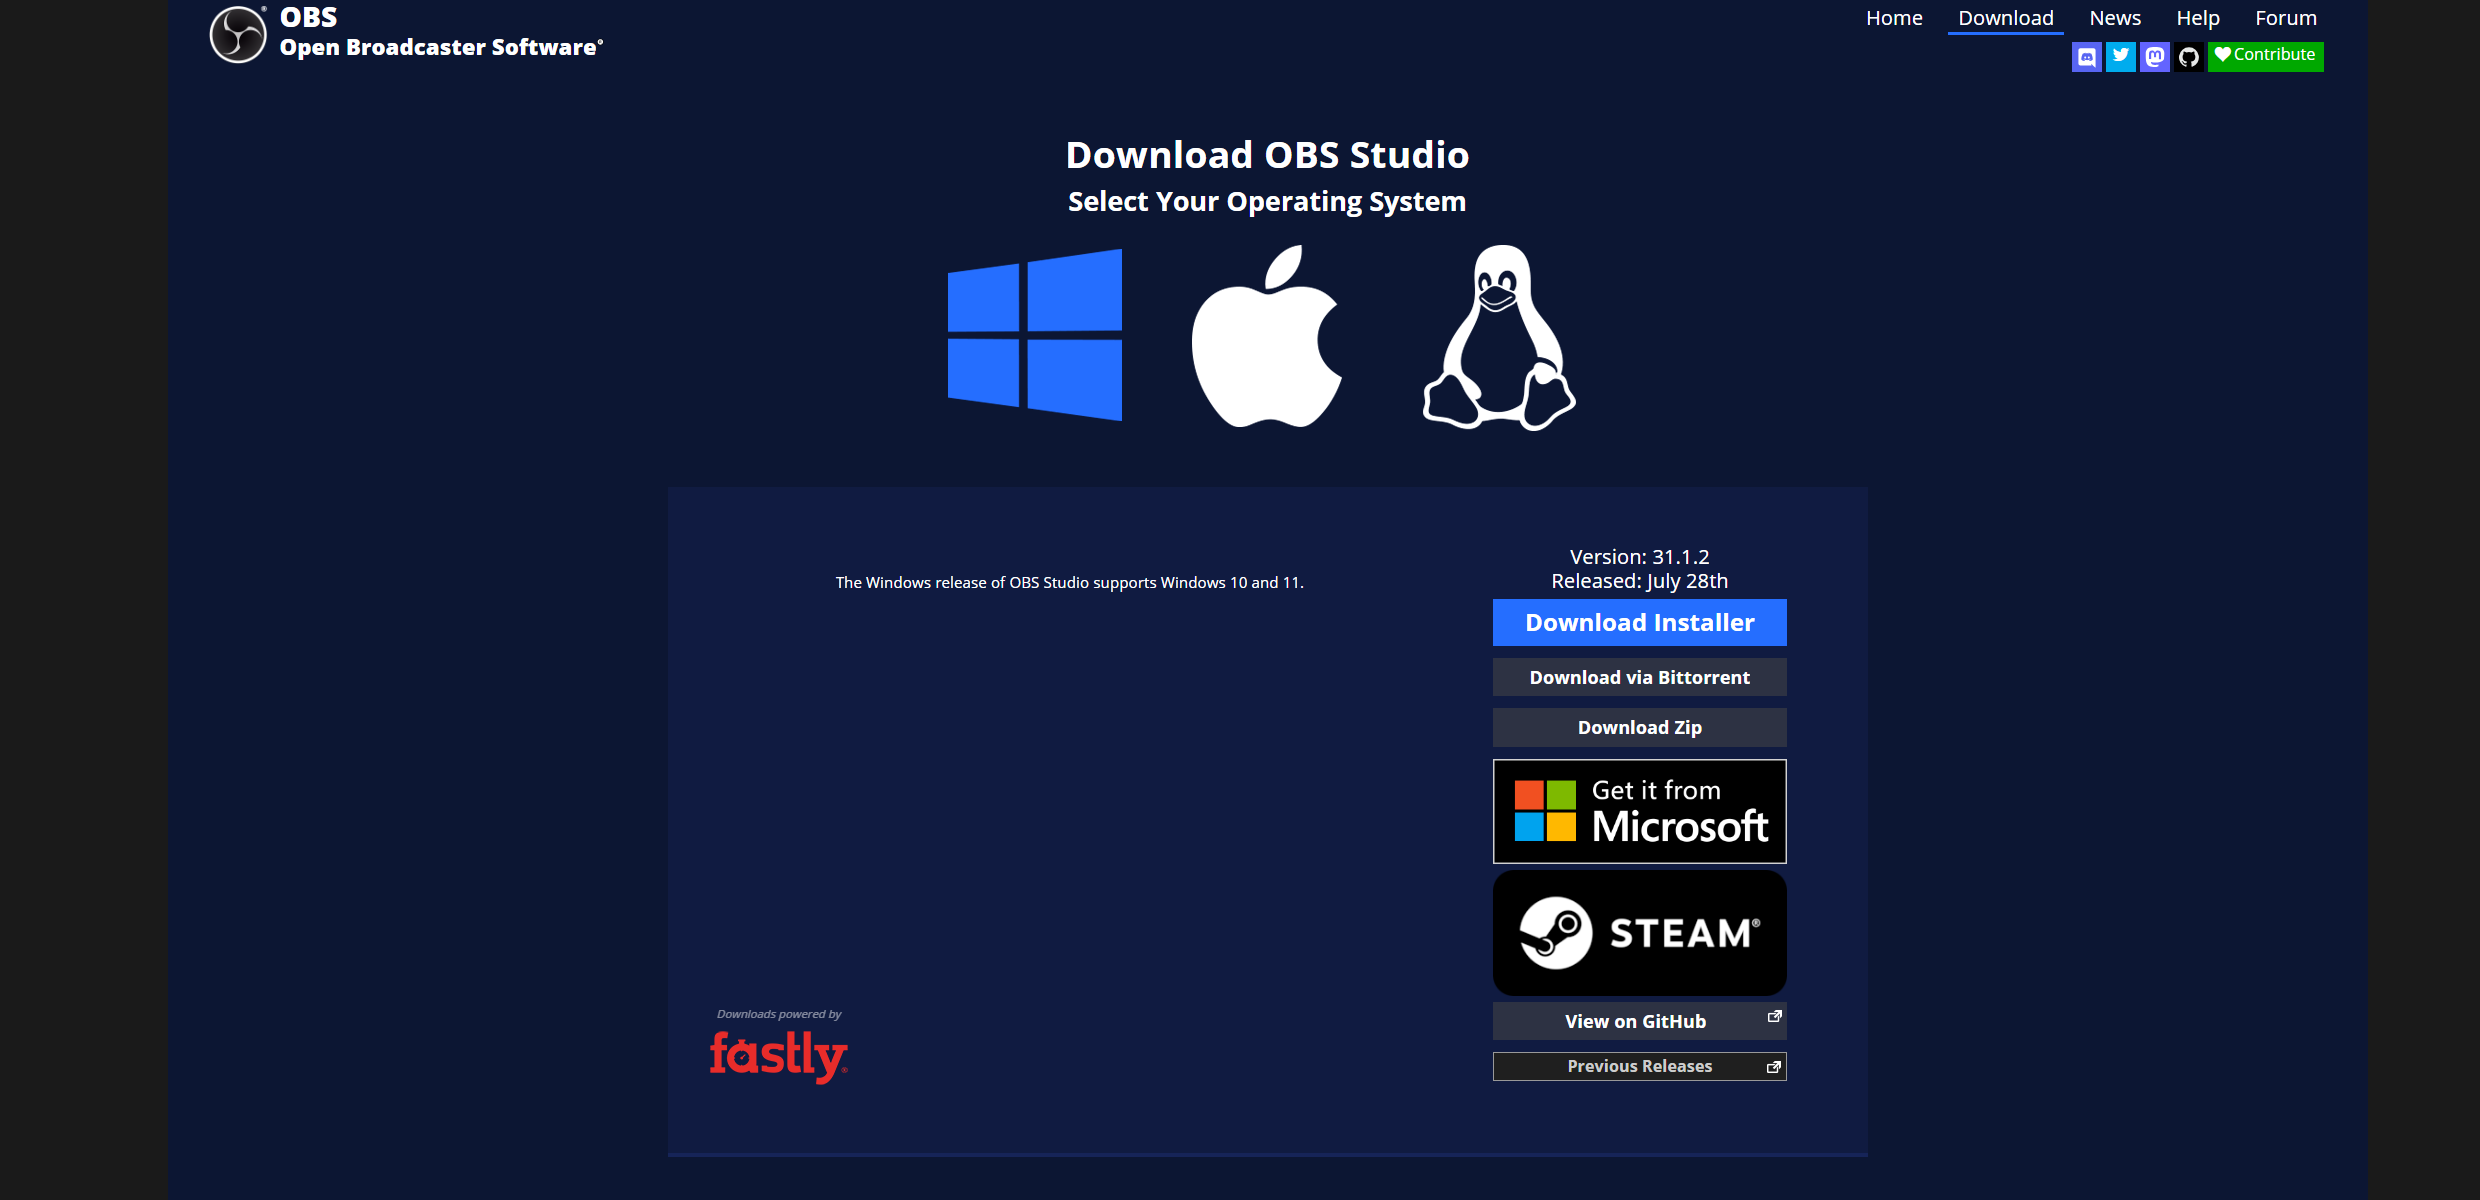
Paso 1: Instalar OBS Studio
Descargue OBS Studio para su sistema operativo (Windows, macOS o Linux), instálelo y ábralo.
Paso 2: Crea tu escena en OBS
En el Fuentes panel, agregar fuentes de entrada:
- Dispositivo de captura de vídeo (para tu cámara web)
- Captura de ventana (para diapositivas o aplicaciones)
- Captura de pantalla (para compartir pantalla)
- Imagen o Texto (para logotipos, títulos y etiquetas)

Organícelos en la ventana del lienzo hasta que esté satisfecho con el diseño.
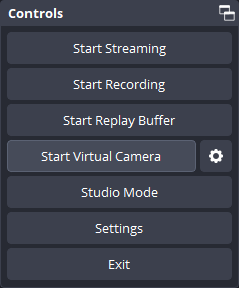
Paso 3: Iniciar la cámara virtual
En la parte inferior derecha Controles panel, haga clic Iniciar cámara virtual y OBS ahora actuará como un dispositivo de cámara web para otras aplicaciones.
Paso 4: Seleccione la cámara virtual OBS en su aplicación
Abre tu aplicación como Zoom, Microsoft Teams, Google Meet o Discord, accede a Configuración y elige OBS Virtual Camera en la sección de video.
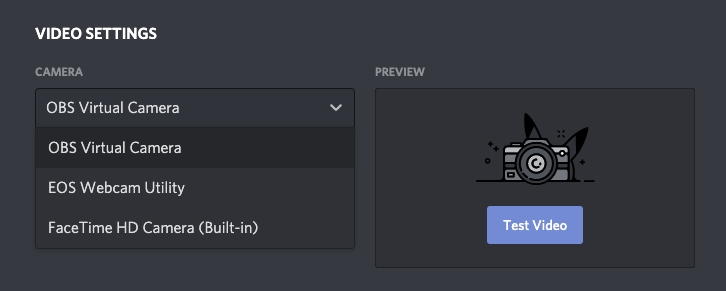
Ahora, cualquier cosa que diseñes en OBS aparecerá como señal de tu cámara.
Paso 5: Mejora tu feed
- Agregar filtros para mejorar el brillo o el equilibrio del color.
- Usar clave de croma (pantalla verde) para cambiar los fondos.
- Cambiar entre múltiples escenas para transiciones suaves.
- Superponga texto, logotipos o imágenes para lograr una marca profesional.
3. Solución de problemas de la cámara virtual OBS
Como cualquier herramienta, OBS Virtual Camera puede causar problemas en ocasiones. Aquí te explicamos cómo solucionar los más comunes:
1) La cámara virtual no aparece en las aplicaciones
- Asegúrese de haber hecho clic Iniciar cámara virtual en OBS.
- Reinicie OBS y la aplicación de conferencias.
- Verifique que su OBS Studio sea la versión 26.1 o posterior.
2) No hay audio en la cámara virtual
- La cámara virtual OBS solo envía video, no audio.
- Para agregar audio, instale un controlador de audio virtual como Cable virtual VB-Audio , o configure su micrófono directamente en la aplicación de conferencias.
3) Retraso o mala calidad
- Reducir la resolución en Configuración > Vídeo .
- Cierre otros programas que utilicen su CPU o GPU.
- Utilice la aceleración de hardware si su sistema lo admite.
4) Permisos en macOS
- Abra Preferencias del Sistema, vaya a Seguridad y privacidad y seleccione Cámara.
- Asegúrese de que OBS y su aplicación de conferencias tengan permiso.
4. Pruebe la alternativa sencilla pero potente a OBS
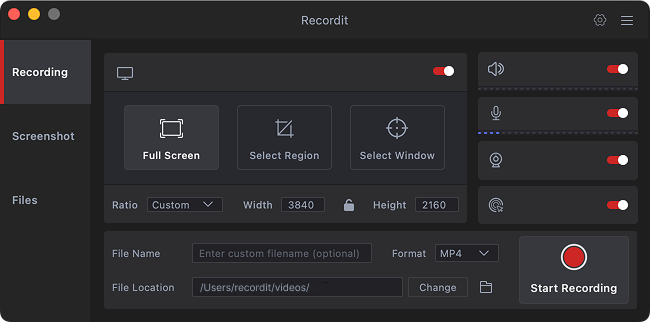
Aunque OBS Virtual Camera es potente, puede resultar intimidante para principiantes. Configurar fuentes, administrar filtros y solucionar problemas técnicos suele llevar tiempo. Si buscas una solución más sencilla e intuitiva, aquí la tienes. Swyshare Recordit brilla.
Características principales de Swyshare Recordit :
- Grabación de pantalla :Captura toda la pantalla o un área seleccionada.
- Grabación por cámara web :Superponga la transmisión de su cámara web sobre la grabación de pantalla.
- Grabación de audio :Grabe simultáneamente el audio del sistema (sonidos de la computadora) y la entrada del micrófono.
- Exportación de alta calidad :Guarde y exporte grabaciones en calidad original.
- Controles fáciles :Inicie, pause y detenga grabaciones con un botón.
- Rendimiento ligero :Funciona sin problemas en la mayoría de las computadoras sin ralentizarlas.
5. Conclusión
OBS Virtual Camera es una función fantástica para quienes desean un control creativo completo sobre su producción de video. Permite transformar la señal de la cámara en una transmisión profesional, lo que la hace ideal para creadores, streamers y usuarios avanzados. Sin embargo, no todos necesitan ese nivel de complejidad. Para muchos usuarios, especialmente profesores, capacitadores y profesionales, la prioridad es la simplicidad y la confiabilidad.
Si desea una personalización avanzada para las transmisiones en vivo, quédese con OBS Virtual Camera. Pero si su objetivo principal es grabar rápidamente y sin complicaciones su pantalla, cámara web y audio, le recomendamos... Recordit Pruébalo. Es la solución más inteligente y sencilla para las tareas de grabación diarias.